
Cedar Sense Articles
How to Build a Sauna, Part 2: Framing, Insulation and Vapor Barrier


The walls of a sauna do two jobs your house walls never have to: they hold in 170 to 200°F heat, and they keep steam from soaking into the framing. Get the framing, insulation and vapor barrier right and the sauna heats fast, stays dry inside the walls and lasts for decades. Get them wrong and you get a sauna that never quite gets hot, or one that grows mold behind the paneling. This is Part 2 of our 5-part sauna building guide.
The short version
- Frame with standard 2×4 walls and a 2×4 or 2×6 ceiling, and add blocking for benches, the heater and the door now.
- Use unfaced insulation: mineral wool or fiberglass batts. Put more in the ceiling than the walls.
- The vapor barrier is aluminum foil, never plastic. Shiny side faces the hot room.
- Overlap every foil seam and tape it with aluminum foil tape. Cover the ceiling and walls in one continuous layer.
- Leave an air gap with 1×2 furring strips between the foil and the paneling.
- Rough in the vents, wiring and sensor holes before the foil goes up.
Framing the room
A sauna frames like any interior room: 2×4 studs at 16 inches on center for the walls, and ceiling joists or rafters sized for the span. What’s different is everything you have to plan inside the walls before they close up.
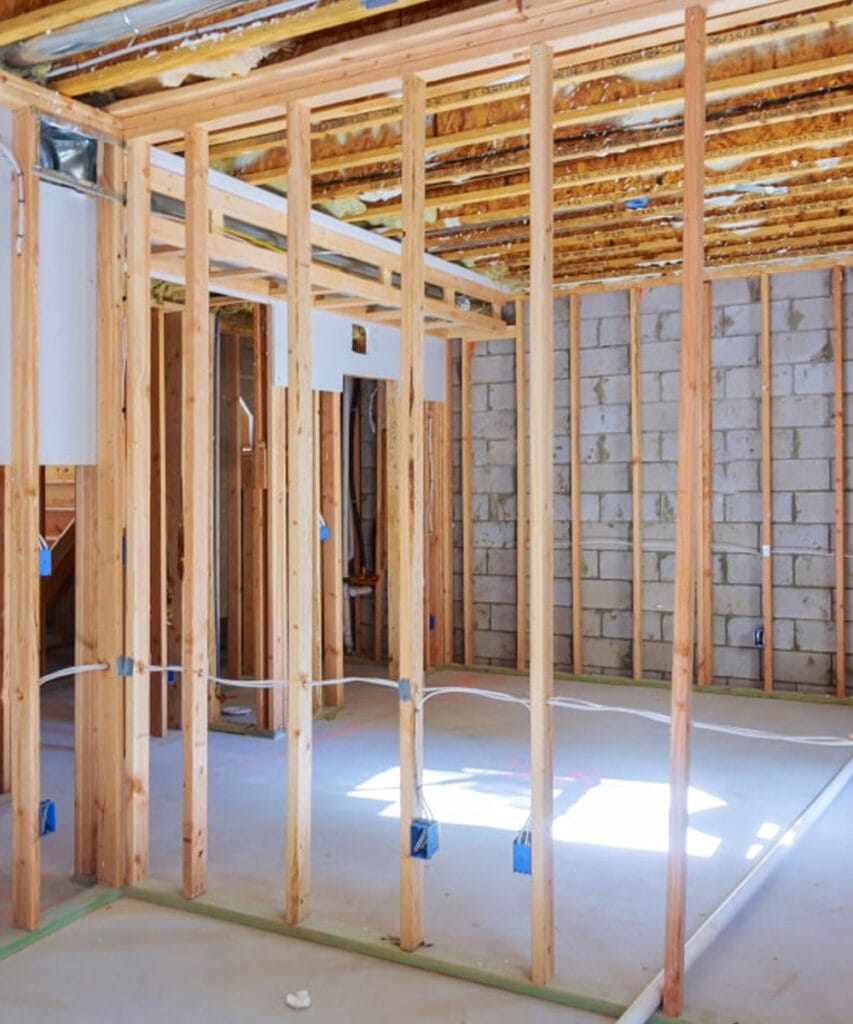
- Blocking for the benches. Bench brackets and cleats need solid wood behind the paneling. Add horizontal blocking at the heights you planned in Part 1.
- Blocking for the heater. A wall-mounted electric heater hangs on its bracket, so put solid blocking where the manual shows the mounting holes.
- The door opening. Frame the rough opening to the door maker’s size. A prehung sauna door lists it in its specs.
- Vent openings. Frame the intake and exhaust openings now. Part 3 shows exactly where they go.
- Ceiling height. Frame to about 7 ft finished inside, and remember the foil, furring and paneling take up about 1.5 to 2 inches.
In a basement, don’t panel directly over a concrete or block wall. Frame a stud wall in front of it with a small gap, insulate it, and foil it like any other wall. Bare masonry pulls heat out of the room and can sweat behind the paneling.
Rough in the electrical and vents
Do this before insulation. Once the foil is up, every new hole is a new leak.
- The heater circuit, run by a licensed electrician to the heater location. Use wire rated for the heat where the manual calls for it.
- The control or thermostat location, which is usually outside the hot room or in a protected spot the manual shows.
- The temperature sensor location, often on the wall or ceiling above the heater.
- Low-voltage wiring for sauna-rated lights.
- The vent openings and any ducting to the outside.
Insulation: unfaced, and more on top
Heat rises, so the ceiling loses the most heat. Give it the most insulation.
| Where | What we recommend | Why |
|---|---|---|
| Walls (2×4) | Unfaced mineral wool or fiberglass, about R-13 to R-15 | Fills the cavity and handles high heat. |
| Ceiling | Unfaced batts, R-19 or more if the joists allow | Hot air collects here, so this is where most heat escapes. |
| Outdoor saunas | The same, plus a well-insulated floor | A cold floor makes for cold feet and longer heat-up. |
Use unfaced batts. Kraft paper or plastic facing adds a second vapor barrier. With foil on the room side, a second barrier can trap moisture between the two, right inside your framing. Mineral wool is our first choice because it shrugs off heat and moisture, and it fits tight.
Skip spray foam and plain foam board directly behind the sauna paneling unless the product is rated for sauna temperatures. Many foams aren’t made for 190°F heat.
The vapor barrier: foil, shiny side in
When you throw water on the stones, the steam pushes hard into every crack in the room. Without a vapor barrier, that moisture goes straight into the insulation and studs, where it condenses as the sauna cools. Over a few winters, that rots framing and grows mold.

Use aluminum foil, not plastic. Polyethylene sheeting is fine in a bathroom wall, but it can soften, off-gas and fail at sauna temperatures. Sauna foil is made for the heat, and its shiny face reflects radiant heat back into the room.
How to install the foil
- Start with the ceiling, so the wall foil overlaps up onto it and any drips run down the face, not behind it.
- Shiny side toward the hot room.
- Staple it to the studs and joists, pulling it snug without tearing it.
- Overlap every seam by 2 to 4 inches, shingle style, with upper pieces lapping over lower ones.
- Tape every seam with aluminum foil tape. Not duct tape, which lets go in the heat.
- Seal every hole. Tape around wires, the sensor cable, vent openings and the door frame. Patch any rip with foil and tape.
- Keep it continuous. The ceiling and walls should form one sealed foil box.

Common mistake: leaving the foil open at the top of the walls or around the door frame. Steam finds the gap every time. Tape the foil to the door jamb and run it continuously from the walls onto the ceiling.
Leave an air gap behind the paneling
Fasten 1×2 furring strips over the foil and into the studs, then attach the paneling to the strips. The 3/4 inch air gap does three things:
- Lets any moisture that gets behind the boards dry out instead of soaking the wood.
- Makes the foil work. Foil only reflects heat when there’s air in front of it.
- Gives you a flat surface to nail the tongue and groove to.
Run the furring strips across the direction of your paneling: vertical strips for horizontal boards, horizontal strips for vertical boards. Leave small gaps at the strip ends so air can move behind the boards.

Check your materials
Use the planner in Part 1 to estimate foil and insulation. For a typical 6×8 room with a 7 ft ceiling, you’re looking at about 270 sq ft of foil, or one 4 x 80 ft roll, plus a roll of foil tape.
 PROSAUNAS Sauna Vapor Barrier Foil | 4 ft x 80 ft Roll$92.90
 Sauna Aluminum Foil Tape | 2" x 164 ft (50 mm x 50 m) | For Vapor Barrier Seams$38.66
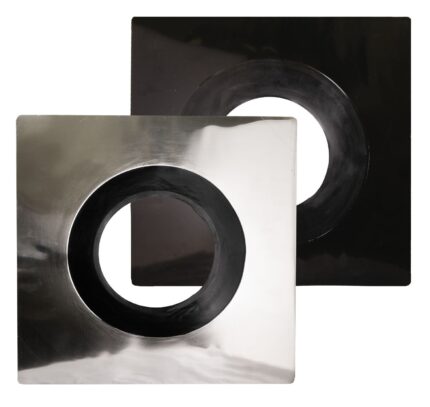 Harvia Sauna Vapor Barrier | WHM25$333
From our shop: when builders ask why we sell a vapor barrier and foil tape that big box stores don’t carry, this is why. The vapor barrier is the one part of a sauna you never see again once the walls are done, and it’s the part that decides whether the framing is still sound in 20 years. Every sauna package we ship includes foil and foil tape sized to the room.
Insulation and vapor barrier questions
Can I use plastic sheeting as a sauna vapor barrier?
No. Plastic polyethylene can soften and fail at sauna temperatures. Use aluminum foil made for saunas, with the shiny side facing the hot room and every seam overlapped and taped with foil tape.
Which side of sauna foil faces in?
The shiny side faces into the sauna. It reflects radiant heat back into the room, as long as there is an air gap between the foil and the paneling.
What insulation should I use in a sauna?
Unfaced mineral wool or fiberglass batts, about R-13 to R-15 in 2×4 walls and R-19 or more in the ceiling. Avoid kraft-faced or plastic-faced batts, since the foil is already your vapor barrier.
Do I need an air gap behind sauna paneling?
Yes. Fasten 1×2 furring strips over the foil and attach the paneling to them. The gap lets moisture dry out and lets the foil reflect heat.
Building a sauna? Talk to a real person.
Cedar Sense is a family sauna business in Waubun, Minnesota. We help builders and homeowners size heaters, plan vents and order every part of a build in one shipment. Call or text 218-760-2041. Building saunas for clients? See our contractor pricing.
